Months ago I made the switch to using Kelvin when setting my white balance. I found it much more effective at determining the correct white balance for my photographs. Still, it wasn’t always 100%. But the other day, I was reading a photography article and one sentence…almost a throw-away line…jumped out at me. It spoke of using Live View to determine white balance.
Wait. What?? How do I do that exactly? About 30 seconds later, I’d figured it out: Go into Live View, click on White Balance button on controls, select Kelvin and adjust with scroller until live image looks the way you want it to look. Snap photo. Voila!
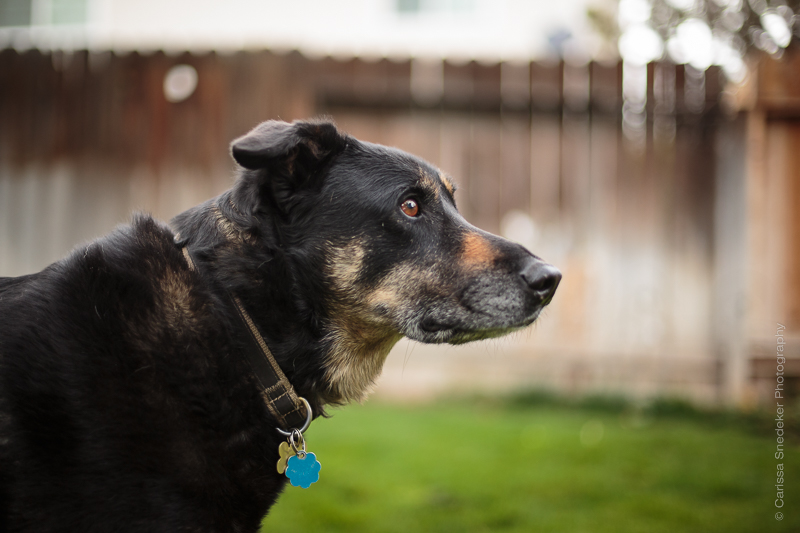
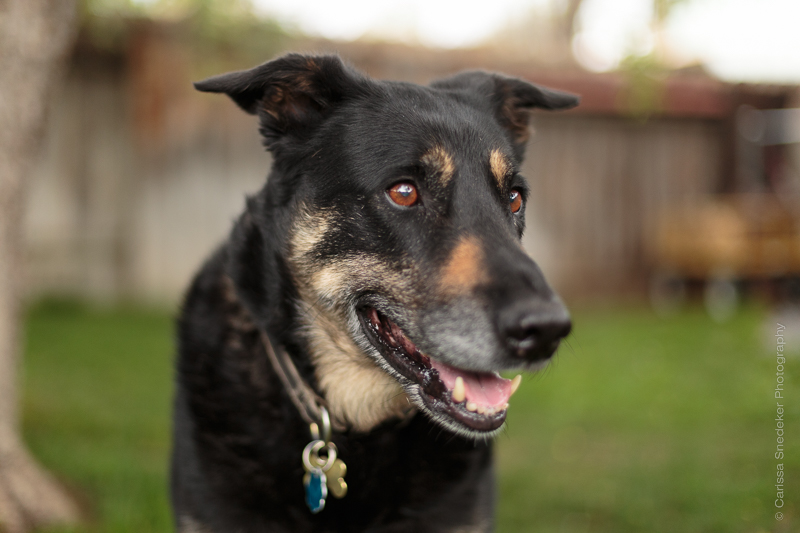
These were all taken using that method and no white balance adjustments were needed. Weehaw!
Froggy and Maya images processed with VSCO (Fuji-FP 100c)


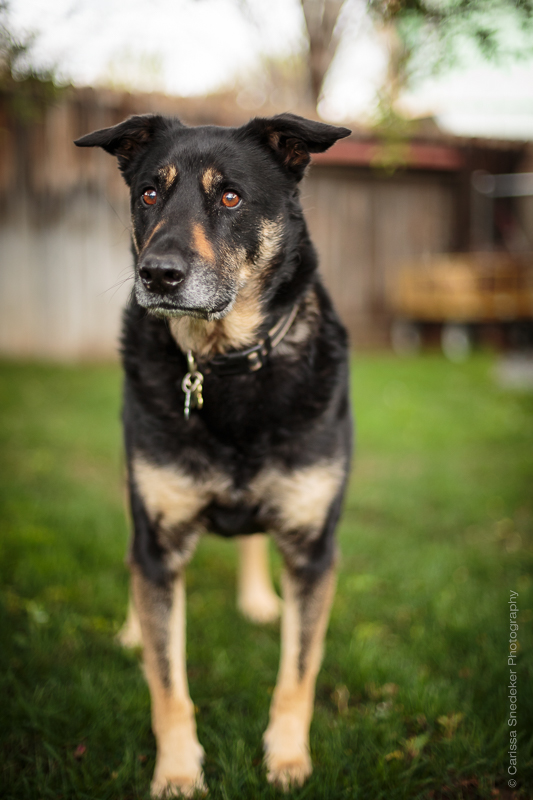
Nina – Pretty much straight out of camera, with minor tweaks. No white balance adjustment needed.